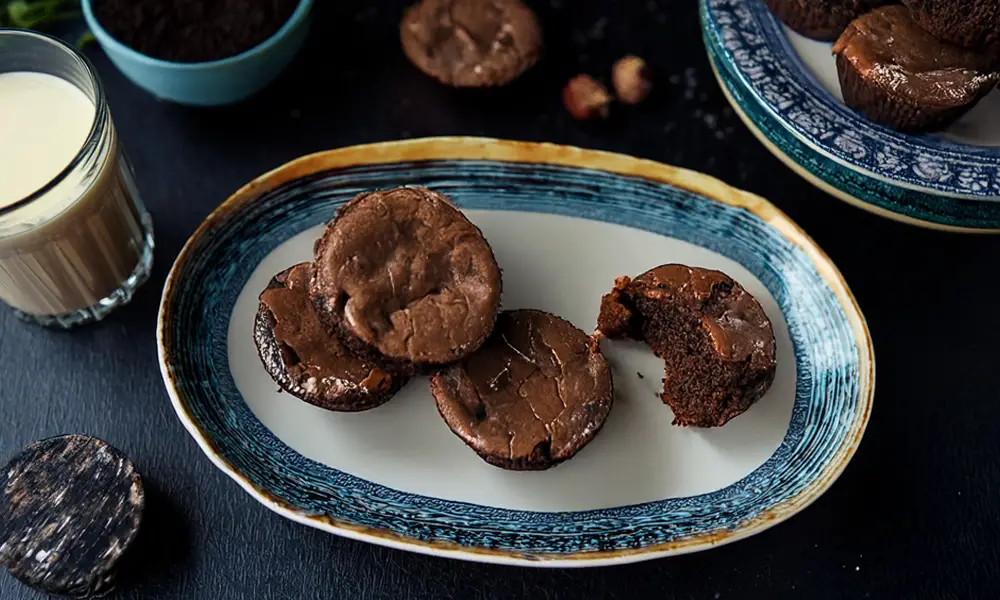
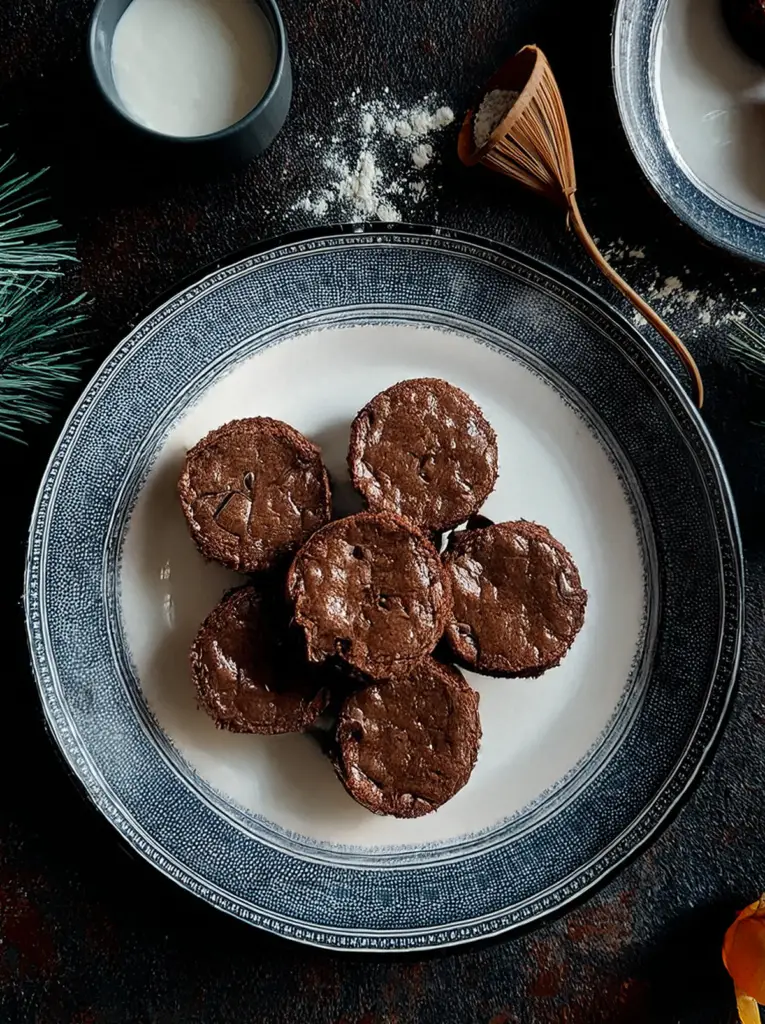
Brownie bites are the ultimate treat for chocolate lovers. These bite-sized desserts are rich, fudgy, and easy to make. Whether you’re hosting a party, looking for a quick snack, or creating a dessert platter, mini brownie bites are a perfect choice. This guide will walk you through the recipe, tips for success, and variations to customize your brownie bites recipe.
If you love rich, chocolatey treats, our Decadent Brownie Truffles are the perfect indulgence, featuring a smooth, velvety texture wrapped in chocolate.
Why Brownie Bites Are a Must-Try
Here’s why you’ll love brownie bites:
- Portion Control: Enjoy guilt-free indulgence with perfectly sized bites.
- Versatility: Great as standalone treats or paired with ice cream.
- Quick Prep: Simple ingredients and steps make them ideal for beginners.
Moreover, these mini brownie bites are not only delicious but also fun to make. Their customizable nature allows you to add your unique twist, whether it’s a sprinkle of nuts or a swirl of caramel. Additionally, they bake faster than traditional brownies, so you can enjoy them sooner! Furthermore, they are perfect for gatherings or simply satisfying a chocolate craving.
Ingredients You Need
To create the perfect chocolate brownie bites recipe, gather these simple ingredients:
- 10 tablespoons unsalted butter (141 grams)
- 1 cup granulated sugar (200 grams)
- 2/3 cup cocoa powder (67 grams)
- 2 teaspoons vanilla extract
- 3/4 teaspoon salt
- 2 large eggs
- 1/2 cup all-purpose flour (60 grams)
- 1/2 cup semi-sweet chocolate chips (optional)
Why These Ingredients Matter:
- Butter: Adds richness and moisture.
- Cocoa Powder: Provides a deep chocolate flavor.
- Eggs: Bind ingredients for that fudgy texture.
- Flour: Ensures structure without making the bites dense.
By keeping these ingredients fresh and measured accurately, you’re already on the path to success. Additionally, choosing high-quality cocoa powder can elevate the flavor profile significantly.
Step-by-Step Instructions for Mini Brownie Bites
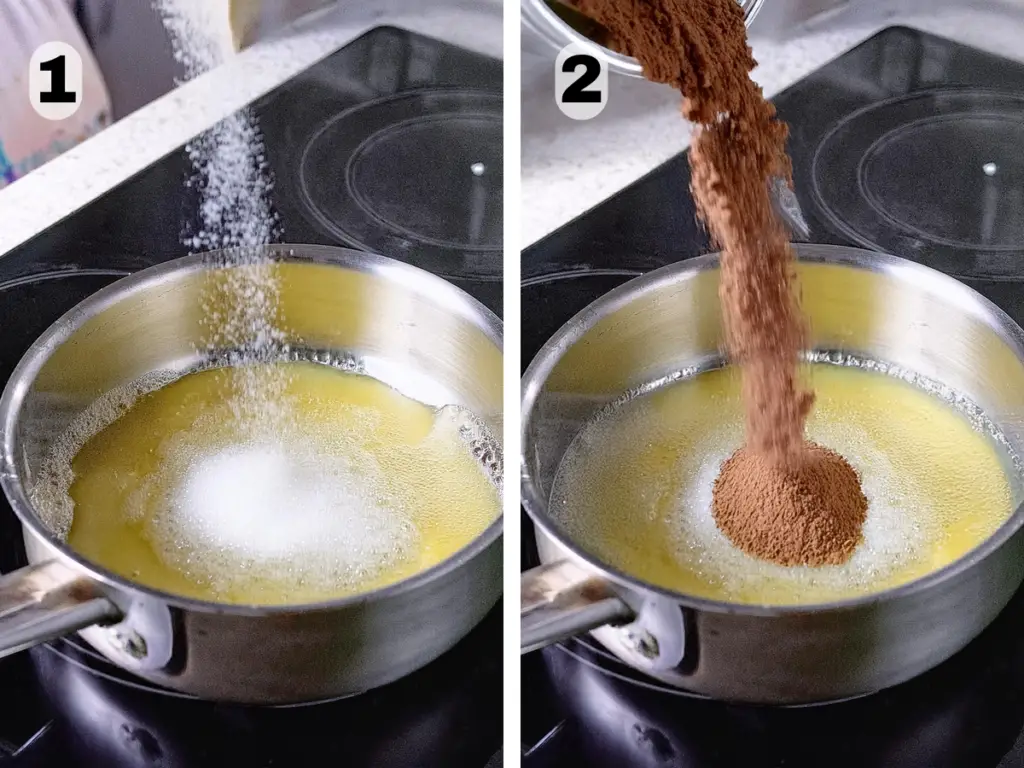
Step 1: Melt the Butter and Stir in Sugar
Start by melting the butter in a medium saucepan over medium heat. Gradually stir in the sugar until it is fully dissolved. This step ensures the mixture is smooth and ready for the next ingredients. Additionally, stirring consistently helps prevent the sugar from crystallizing.
Step 2: Add Cocoa Powder, Vanilla, and Salt
Remove the saucepan from heat and immediately add cocoa powder, vanilla, and salt. Stir until fully incorporated. Afterward, let the mixture cool for 5 minutes. This pause is essential to avoid cooking the eggs in the next step. Moreover, the cooling process enhances the texture of the batter.
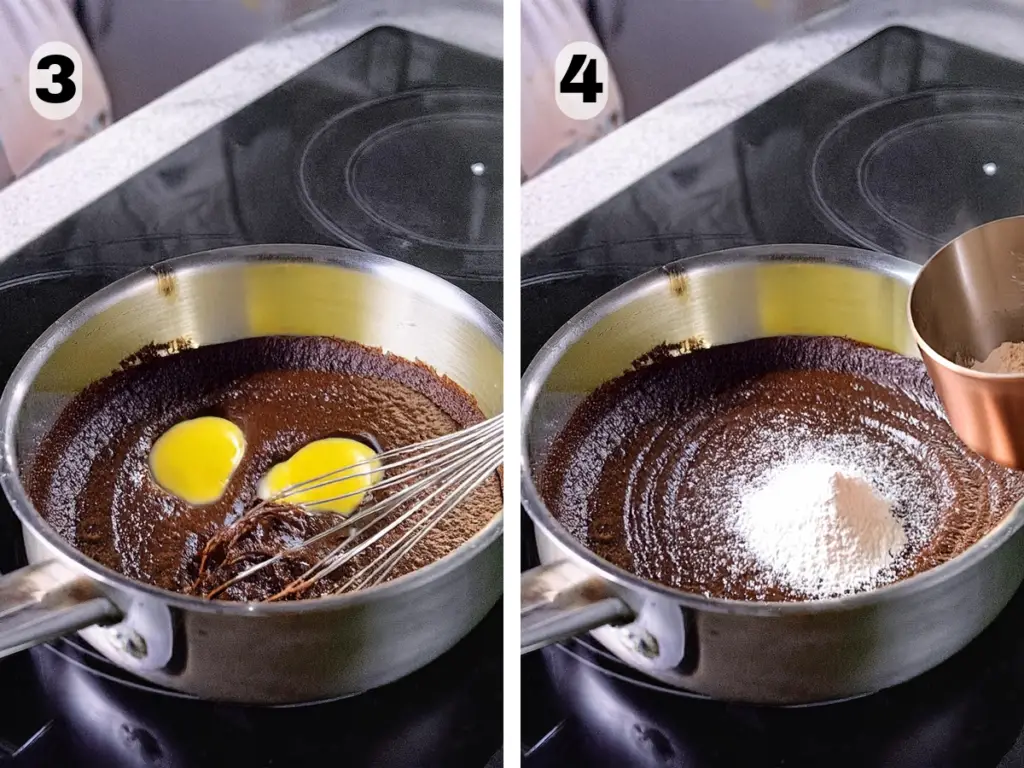
Step 3: Whisk in the Eggs
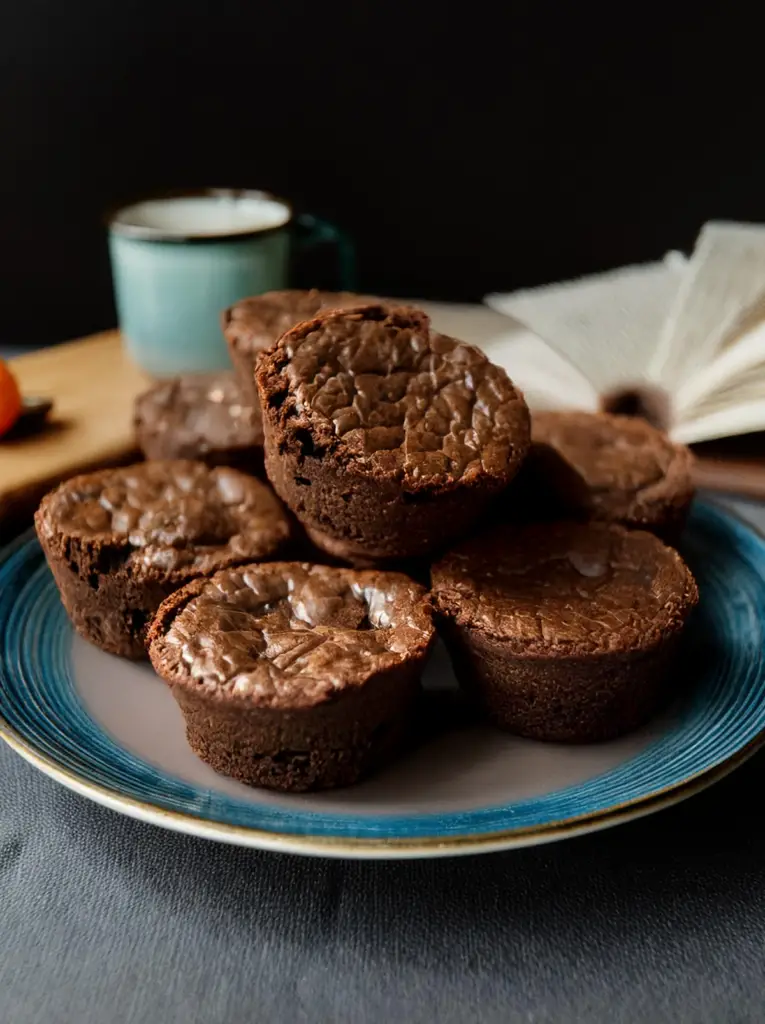
Once the mixture has cooled slightly, whisk in the eggs quickly but gently. Notably, this helps achieve the glossy, signature crackly tops on the brownie bites. Make sure the eggs are well combined with no streaks remaining. Furthermore, whisking thoroughly ensures a uniform texture in the final product.
Step 4: Add the Flour and Stir Gently
Slowly sprinkle the flour into the mixture. Fold it in gently to avoid overmixing, as overmixing can lead to denser brownie bites. Stop stirring as soon as no streaks of flour are visible. Additionally, folding gently helps retain air in the batter for a lighter texture.
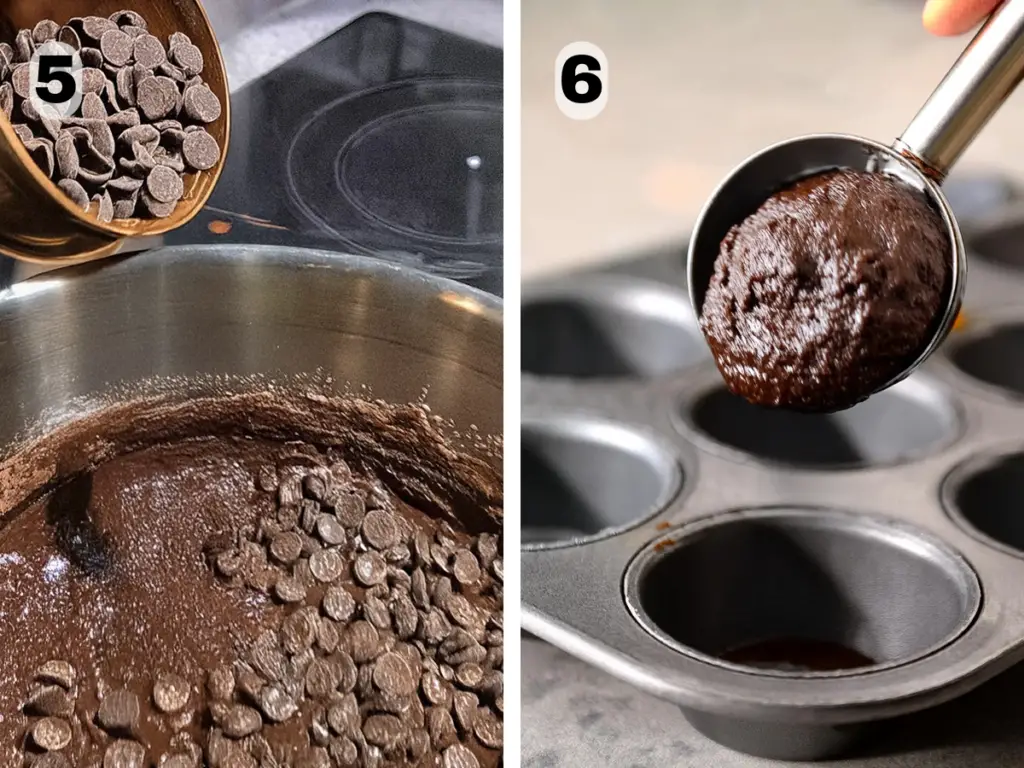
Step 5: Add Chocolate Chips
Next, stir in the semi-sweet chocolate chips. The heat from the mixture will slightly melt the chips, creating gooey chocolate streaks in the final bites. Moreover, using high-quality chocolate chips can enhance the overall flavor.
Step 6: Prepare the Muffin Tin
Butter the wells of a 24-cup mini muffin pan or spray them with baking spray. Scoop about 1.5 tablespoons of batter into each well. Ensuring even portions will result in consistent baking. Additionally, lining the wells with parchment paper liners can make removal easier.
Step 7: Bake and Cool
Preheat the oven to 350°F (175°C) before placing the muffin tin inside. Bake for 12-15 minutes. During this time, check for shiny tops and set centers. Once baked, let the brownies cool in the pan for 10 minutes before transferring them to a wire rack. Additionally, allowing them to cool fully enhances their flavor and texture.
Tips for Perfect Brownie Bites
To make your mini brownie bites perfect, consider these tips:
- Measure Ingredients Accurately: Use a kitchen scale for precision, especially for cocoa powder and flour.
- Cool Before Adding Eggs: Always allow the mixture to cool slightly before adding eggs to prevent scrambling.
- Avoid Overmixing: Overmixing the batter can lead to a denser texture. Mix only until the ingredients are just combined.
- Use a Cookie Scoop: A cookie scoop ensures even portions, making the bites bake uniformly.
- Check Doneness with a Toothpick: Insert a toothpick into the center. A few moist crumbs are ideal; wet batter indicates they need more time.
Additionally, using high-quality ingredients and following the steps carefully ensures consistent results every time.
Customization Ideas
Take your mini brownie bites to the next level with these creative variations:
- Toasted Nuts: Add chopped walnuts or pecans for a crunchy texture.
- Caramel Drizzle: Drizzle caramel sauce over the top for added sweetness.
- Peanut Butter Swirl: Gently swirl in peanut butter before baking.
- Festive Sprinkles: Top with colorful sprinkles to match a holiday or event theme.
- Mint Extract: Add a drop or two of peppermint extract for a refreshing twist.
These simple additions can transform your chocolate brownie bites recipe into a dessert that’s perfect for any occasion. Furthermore, they allow you to showcase your creativity in the kitchen. Additionally, customizing the recipe ensures everyone enjoys a flavor they love.
Storing and Freezing Brownie Bites
How Do You Store Brownies?
- In the Fridge: Store your brownie bites in an airtight container for up to one week. This helps retain their moisture and flavor.
- In the Freezer: Place the bites in a single layer on a baking sheet to freeze. Once solid, transfer them to a resealable freezer bag. They can be stored for up to two months.
Can You Freeze Brownies?
Absolutely! Freezing brownie bites is simple and convenient. Thaw them at room temperature for 1-2 hours before serving. Additionally, freezing allows you to prepare them ahead of time for parties or unexpected cravings. Furthermore, proper storage ensures they maintain their delicious flavor and texture.
Baking and Cooling FAQs
How Long to Bake Brownies at 350?
Bake mini brownie bites for 12-15 minutes at 350°F. The tops should be shiny, and the centers should be just set. Additionally, using an oven thermometer ensures accurate baking times.
How to Know If Brownies Are Done?
Insert a toothpick into the center of a brownie bite. If it comes out with moist crumbs but no wet batter, they are ready. Furthermore, the edges should pull slightly away from the pan.
How Long Does It Take Brownies to Cool?
Cool the brownies in the pan for 10 minutes before transferring them to a wire rack. They should be completely cooled in about 30 minutes. Additionally, cooling them properly prevents crumbling when removing from the pan.
FAQs: Common Questions About Brownie Bites
- Can you freeze brownies? Yes, follow the freezing tips above for best results.
- How long to bake brownies at 350? 12-15 minutes.
- How to know if brownies are done? Use a toothpick test.
- How long does it take brownies to cool? About 30 minutes.
- How do you store brownies? Airtight container in the fridge or freezer.
Why You’ll Love This brownie bites Recipe
This brownie bites recipe is a guaranteed hit for chocolate lovers. The rich, fudgy texture and bite-sized portions make them perfect for any occasion. Whether you enjoy them plain or with a creative twist, these treats are easy to make and even easier to love. Furthermore, with simple ingredients and clear steps, this recipe is ideal for both beginners and seasoned bakers.
Additionally, trying these brownie bites is a delightful way to indulge in chocolate cravings. Try it today and discover why mini brownie bites are the ultimate dessert indulgence.
Craving something a little more adventurous? Try our S’mores Cookies Recipe – a delightful combination of marshmallows, chocolate, and graham crackers.
Print
Brownie Bites
- Total Time: 25 minutes
- Yield: 24 brownie bites 1x
Description
Brownie bites are the ultimate treat for chocolate lovers. These bite-sized desserts are rich, fudgy, and easy to make. Whether you’re hosting a party, looking for a quick snack, or creating a dessert platter, mini brownie bites are a perfect choice.
Ingredients
- 10 tablespoons unsalted butter (141 grams)
- 1 cup granulated sugar (200 grams)
- 2/3 cup cocoa powder (67 grams)
- 2 teaspoons vanilla extract
- 3/4 teaspoon salt
- 2 large eggs
- 1/2 cup all-purpose flour (60 grams)
- 1/2 cup semi-sweet chocolate chips (optional)
Instructions
- Melt the butter in a medium saucepan over medium heat. Stir in the sugar until fully dissolved.
- Remove from heat and mix in cocoa powder, vanilla, and salt. Let cool for 5 minutes.
- Whisk in the eggs until smooth and fully combined.
- Fold in the flour gently until no streaks remain.
- Stir in the chocolate chips.
- Butter or spray a 24-cup mini muffin pan. Fill each well with about 1.5 tablespoons of batter.
- Bake at 350°F (175°C) for 12–15 minutes. Cool in the pan for 10 minutes, then transfer to a wire rack.
Notes
Use a kitchen scale for accurate measurements. Let the mixture cool before adding eggs. Avoid overmixing the batter. A cookie scoop ensures even portions. Check doneness with a toothpick—moist crumbs are ideal.
- Prep Time: 10 minutes
- Cook Time: 15 minutes
- Category: Dessert
- Method: Baking
- Cuisine: American
Nutrition
- Serving Size: 1 brownie bite
- Calories: 110
- Sugar: 9g
- Sodium: 70mg
- Fat: 7g
- Saturated Fat: 4g
- Unsaturated Fat: 2g
- Trans Fat: 0g
- Carbohydrates: 12g
- Fiber: 1g
- Protein: 1g
- Cholesterol: 25mg
Keywords: brownie bites, mini brownies, chocolate dessert, easy baking
Came out perfectly fudgey and delicious. Made 24 with no problems. I recommend weighing as suggested
Thank you.. It’s my go-to brownie recipe, so I’m happy you love it 🙂